Search This Blog

Showing posts with label Replica. Show all posts

Monday, 17 May 2021

Build diary Porsche 356 Speedster Chesil replica - Final post May 17th 2021

End of the build process

The car is now fully and correctly registered as a Chesil Speedster 😀

Whilst I have thoroughly enjoyed all (nearly all) the build process, it has not been without some challenges. There was no accurate build manual which really didn't help, lots of undocumented issues that are "known" to the Chesil team but not documented and the wiring loom was to be polite, lacking! Most parts don't fit out the box, thank god for my Dremel and grinding wheels and I really underestimated how much research is needed to pull the build together.

The good news for future builders is that since I started Westfield has taken over of Chesil and I'm sure given time will sort out a decent level of documentation to support the amateur builder. 

A big thank you goes out to Goose at Chesil now Westfield who was a great source of information when needed.

An update on the carbs. The lesson is buy original Weber's not Chinese copies!!!

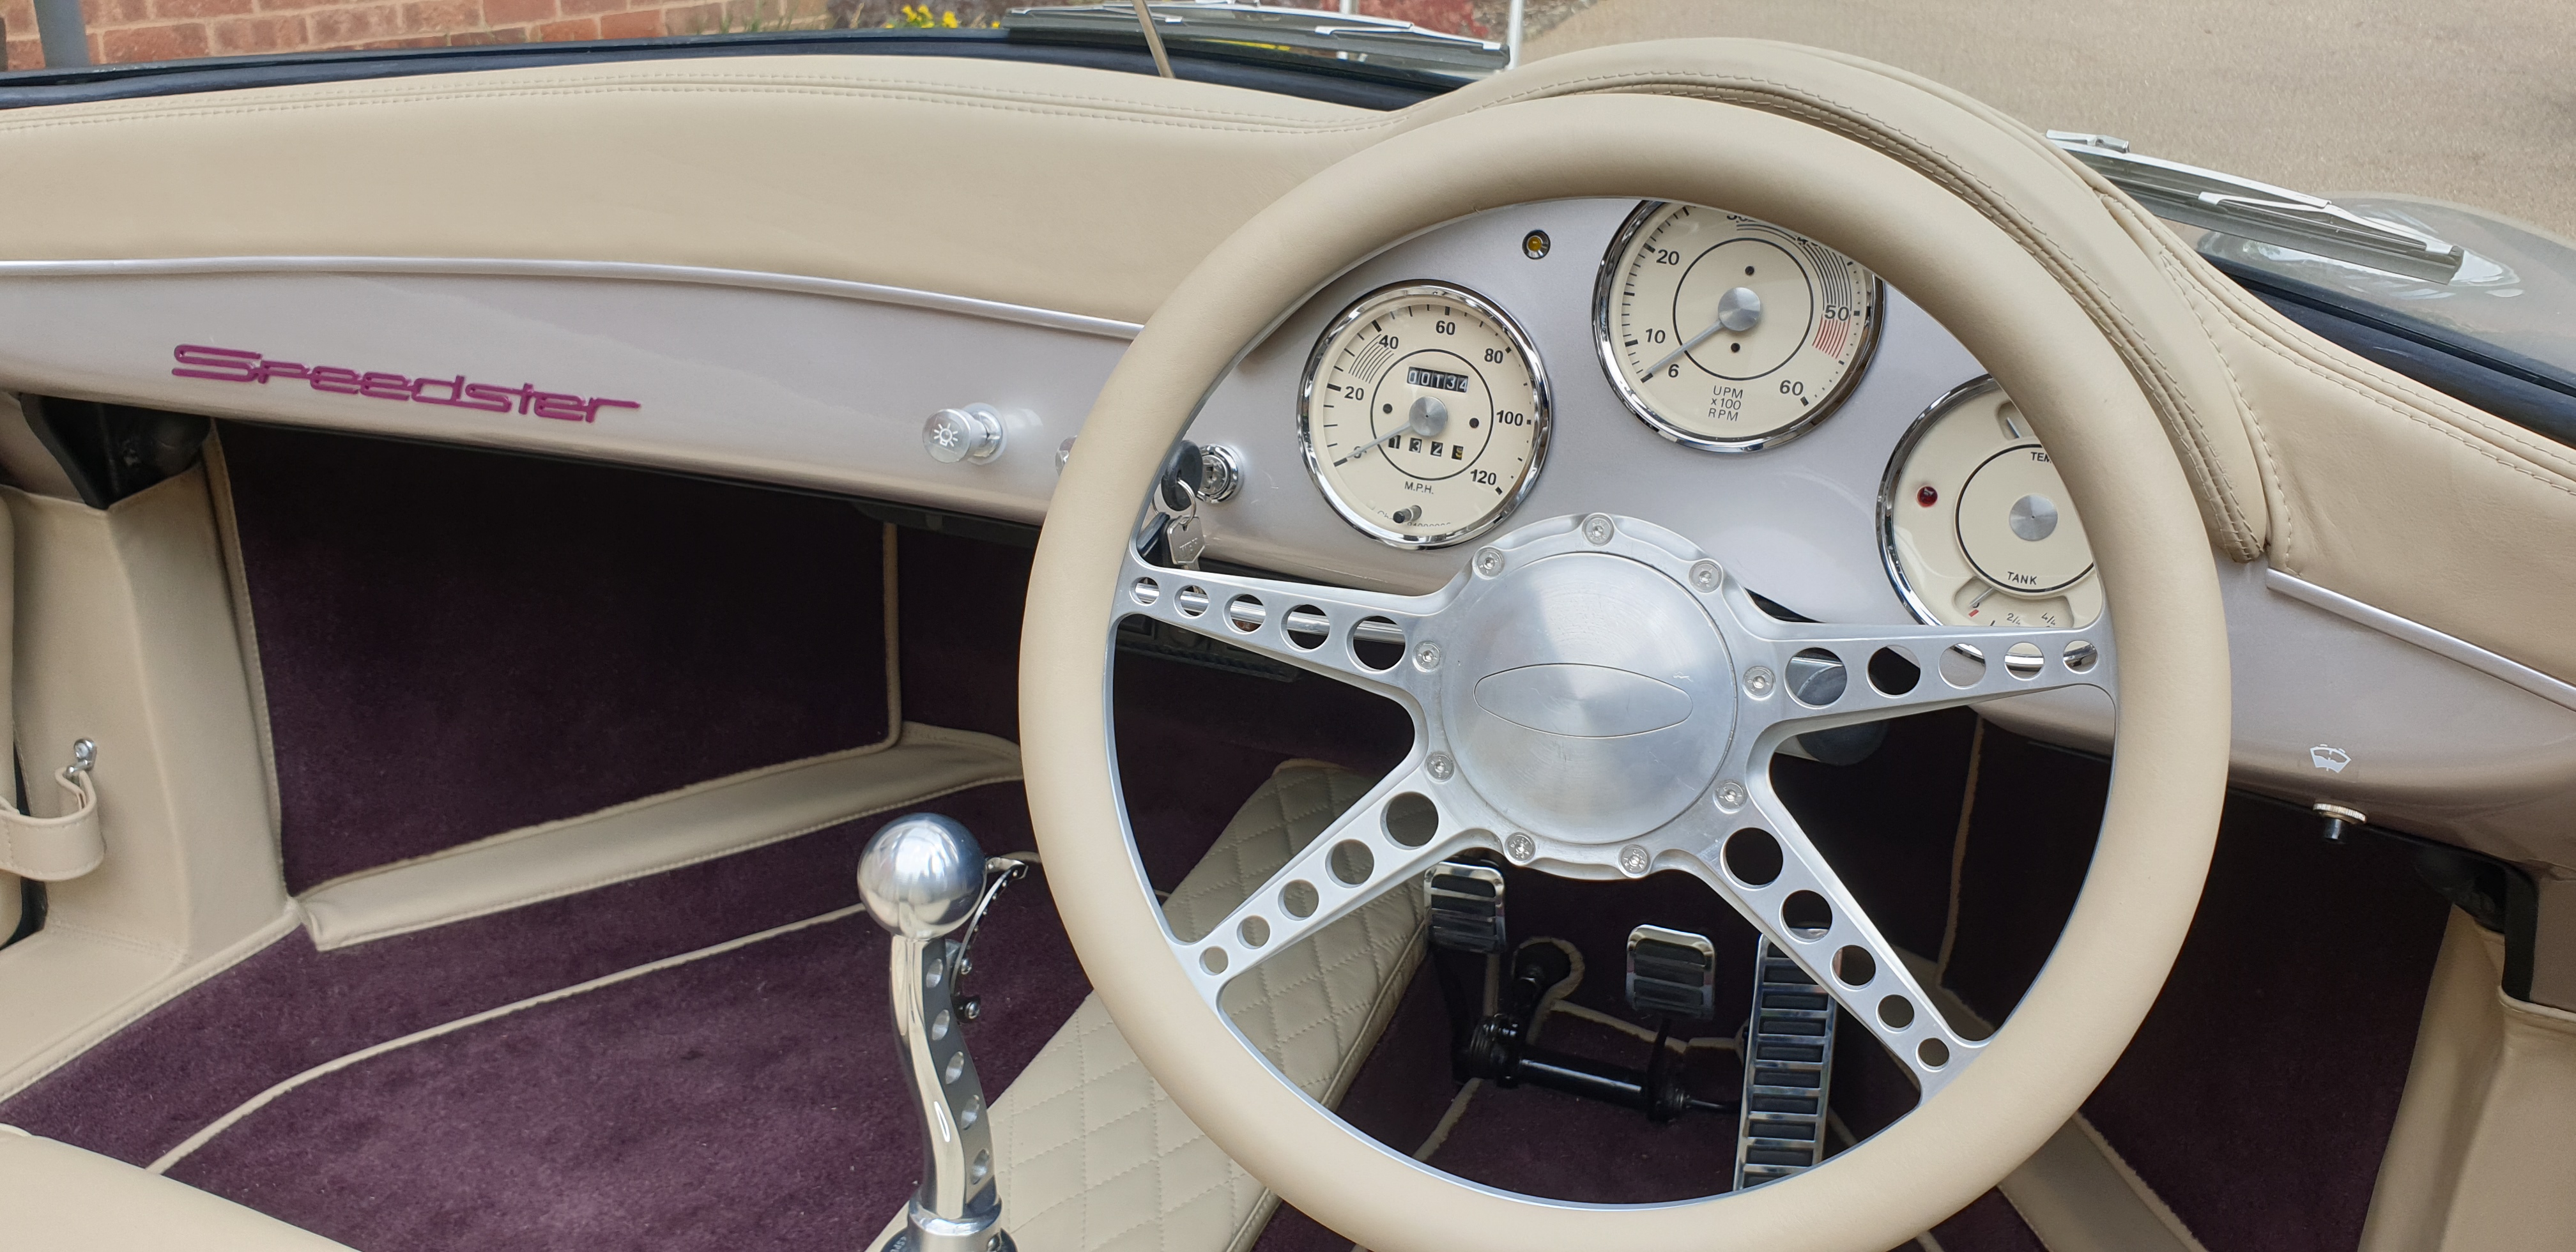
"Finished" Car


Build Photos

I have gathered together a few of my favourite pictures of the build process which I hope you enjoy.


Next Job

A bigger garage!!!


Tuesday, 21 January 2020

Update Jan 21st 2020

Happy New Year!! I'm now back on the car after a nice long break over Christmas. There are a lot of smaller jobs to finish off before I get stuck into the electricals.

Body Fix (did this work in Dec 2019)

The body is fixed by a number of bolts down both sides of the car, as well as a number on the subframe. The side fixing points need to be drilled out from under the car and it was quite an awkward job, a four point lift would have made the job much easier.

Side mounts

Rear subframe


Rear cross frame


Oil Cooler & Oil filter

The pipework connecting  the oil cooler and oil filter to the engine was mocked up using cheap flexible pipe, using these as a template I had the final oil pipes manufactured from really nice and much more expensive material.


Once the tinware on the engine was in place, and it didn't originally fit, taking a few hours of filing and adjustment to get it all on, I did a dummy fit on the tray that sits below the engine. I needed to get this in place before I did a final fix in position of the oil cooler pipes and as expected it didn't fit and needed some "adjustment".

Final piece of tinware fitted and lower engine tray clamped in place prior to adjustment

Once "adjusted I did the final fit of the tray using a seal from a T25 Van rather than the seal supplied which being much smaller and more rigid didn't give the final seal that I wanted. All fits well,  but I have removed it to give me better access to the engine bay for fitting the fuel pipes and wiring.

Van seal on the left original seal on the right

The oil pipes and filter assemblies were fitted to the subframe by drilling out and fixing using Rivnut fitting,

Oil filter mounted onto rear subframe

Final Fix of the coil pack

I had to adjust the original bracket to lift the coil back away from the engine tray. Once modified I painted it black to match the coil pack.
Before adjustment


After adjustment


Wiring Loom

I have started to pull the wiring loom through the car.I going to have to add additional working on for a number of items, this list may grow, but for now its as below:
  • Heated seats
  • Music
  • Immobiliser
  • USB chargers
  • Electric heater


Monday, 14 May 2018

Introduction & original floor pan - May 2018

Here is an idea of what I am building,

The original chassis has come from a 1973 Beetle 1303S, as you would expect it needed some work.


The Speedster will have IRS suspension, so same as the donor car, however the front suspension will be the same as earlier Beetles using a beam so it requires a lot of surgery.  The floor pan also needs to be cut and shortened.

Here is a selection of pictures:

Before